

By : John Schaser (Health Alchemist)
Chalk hits your skin; your senses immediately sharpen and begin to tingle. Your hands meet the cold tactile sensation of the kettlebell handle and the muggy smell of gym rubber and sweat swarm your nostrils. Adrenaline kicks in and the tunnel vision begins… Oh yeah baby, another workout is going to get demolished! You’re swinging steel like a champ – hitting new PRs and witnessing strength gains. Your love for the kettlebell is fanatical, and nothing in the world could separate you from your iron friend. Everything in your body is firing better than a well-oiled ’69 Chevelle SS big block, until…SNAP! Something in your shoulder makes a very unappealing noise and the killer workout you were about to do is halted by an injury. Pain begins to flood your shoulder as anger and frustration fill your mind.
Here’s something everyone can agree on: injuries suck. So let’s make sure this scenario never becomes a reality for those of you reading this article. The shoulder is a crucial joint for nearly any activity in life. Yet, many of us do not have a fully functioning shoulder capsule. Here lies the problem: if you cannot fully lift your arm(s) overhead without tilting the ribcage or overextending the spine, you are risking injury by performing a snatch or overhead press. To address this problem, I am going to give you the prerequisites to building bulletproof shoulders and avoiding injury. Let us begin, shall we?
Mobility is when a joint is able to move through its full range of motion without signs of pain or resistance. For example, taking the shoulder through a full range, pain-free arm circle. Below is a 3-step mobility regimen that will open the shoulder joint to a full overhead position, build control throughout the newly opened range of motion, and stabilize the new overhead position.
STEP #1. Open the shoulder’s range of motion (ROM) to simulate the overhead and snatch position.
Warm Up:
Straight Bar Hangs: 30 sec - 1 min holds (if 30 seconds is too challenging, just hold as long as you can).
Hanging is very beneficial because it relieves compression of the tissues in the shoulders and will stretch the arch of ligament and bone covering the rotator cuff and subacromial bursa*.
*CA Arch (Kirsch M.D., John M.. Shoulder Pain? The Solution & Prevention: Fourth Edition (p. 18). Bookstand Publishing).
Now that we have warmed up, it’s time to open the shoulder to a new range of motion. We will be stretching the tissues restricting the shoulder, while teaching the nervous system to control the new range in a lengthened AND shortened overhead position. If you have difficulty raising your arm overhead without compensating by tilting the ribcage or overextending the spine, do not skip this next exercise!


Exercise #1: Push/Pull Stretch Sets
- Find an elevated object that is roughly a few inches higher than your navel. This could be a bar on a rack, plyo box, countertop, etc.
- Begin by hinging at the hips and placing both extended arms palms down onto the object. This should simulate the overhead position. Passively stretch for about 2 minutes.
- Next, contract all the muscles in the upper body and drive force downward into the elevated object. Be sure to keep arms straight and back flat.
- You should feel as if you are driving the object down into the ground. Continue to drive force downward for 12-20 seconds or until fatigue begins to dampen the contraction.
- Once you complete the hold, immediately reverse the movement by retracting your shoulder blades and pull your arms behind your head. The shoulders should be contracting to hold the position and the chest will dip slightly downward.
- Continue contracting and pulling the arms back for 12-20 seconds or until fatigue begins to dampen the contraction.
- After you complete the contraction, hold the newly opened range for a total of 1-2 minutes, passively stretching and breathing into the position.
- Repeat for 2 rounds.


Reminder: Avoid overextending the spine and dipping the chest too low. Let your focus of the movement stay within the shoulders, not the back.
Read More Below!
STEP #2. Grease the Groove and Control the new ROM.
Now it’s time for shoulder dislocates! Agghh, I know it sounds terrible but it truly is safe. This exercise is used by gymnasts worldwide to strengthen their shoulder’s range of motion.

 |
 |
|
|
 |
Exercise #2: Shoulder Dislocates
- Begin with a wide shoulder width grip (palms facing downward) on a wooden dowel or PVC pipe (adjust hands if needed: tighter grip requires more shoulder flexibility).
*Note: Weight can be added, but for beginners I suggest starting without.
- Bring the dowel overhead at a slow tempo, contracting and actively moving the shoulders through the full range of motion: protraction, elevation, retraction, depression. z
Reminder! Be sure not to extend the back when bringing the dowel behind the body, otherwise the stretch will no longer be solely in the shoulders. If you cannot move the shoulders all the way around at first, simply go as far as you can (this will get better over time).


STEP #3. Stabilize the Overhead Position.
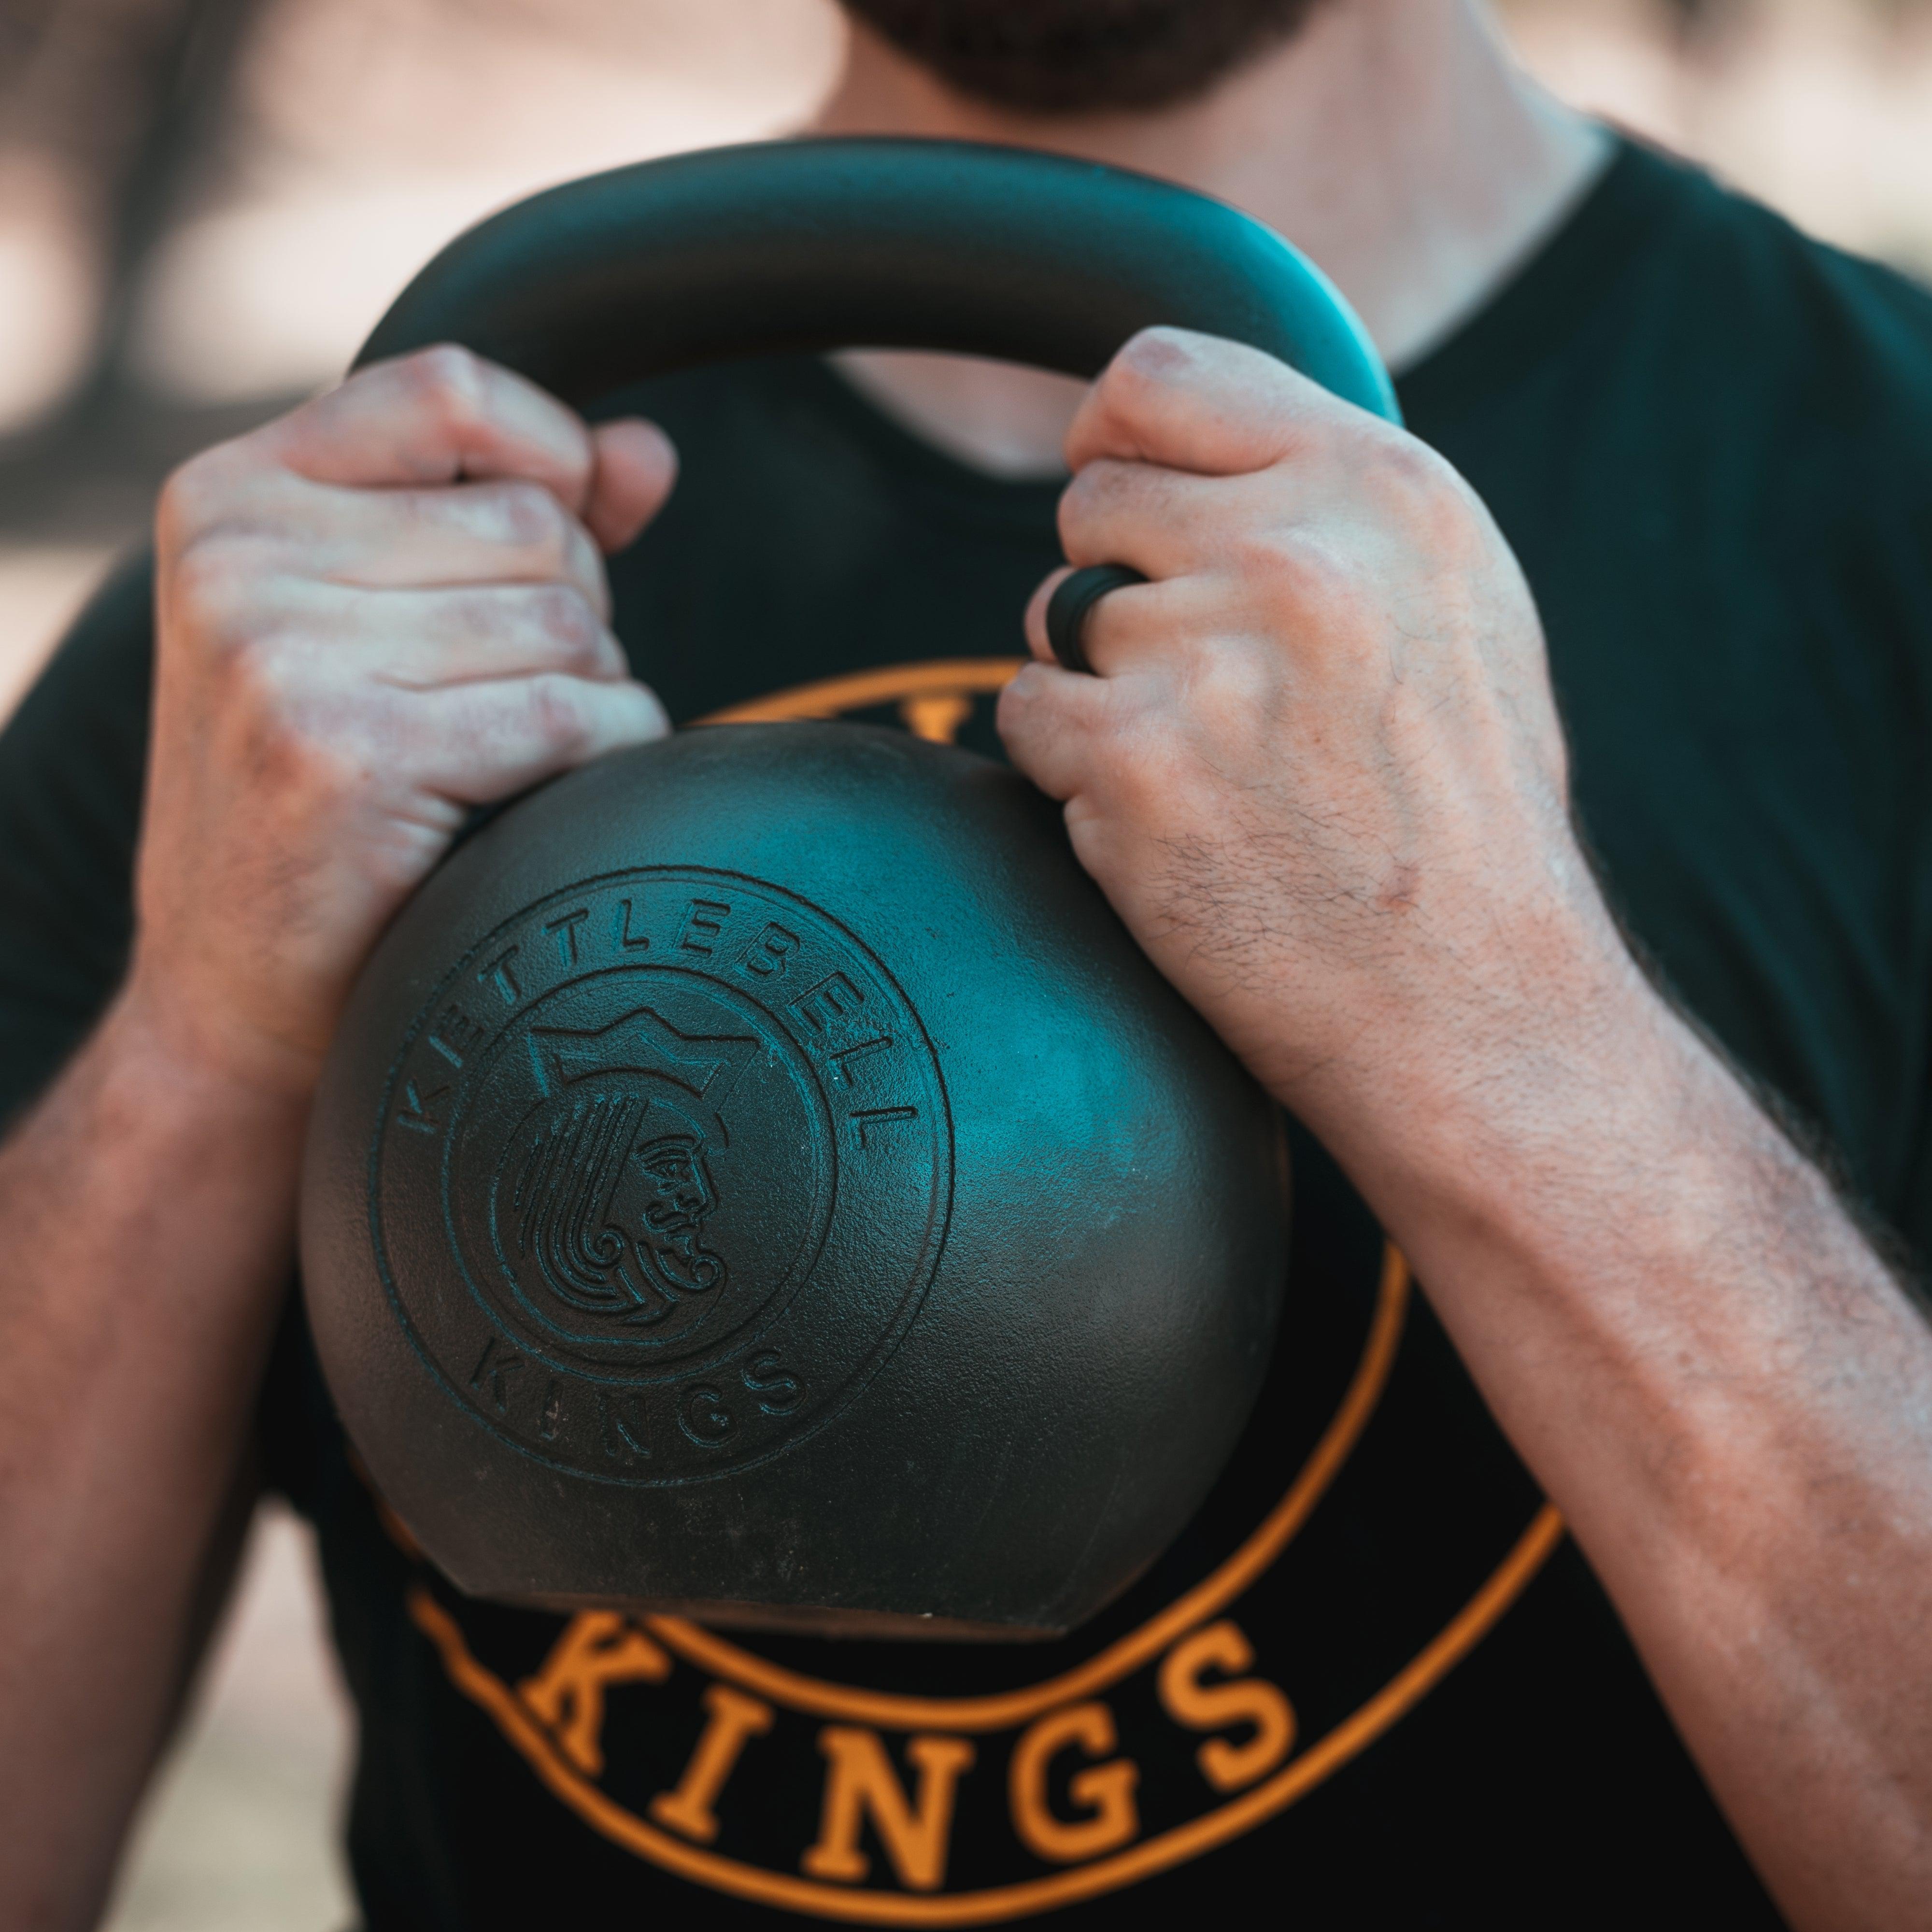
Finally we get to use a kettlebell! We are going to perform the bottoms up press. This exercise will teach the shoulder to stabilize and control the kettlebell in the full overhead position.
Note that in the picture below the kettlebell is slightly beyond the midline of my body. This is done intentionally to build stability in the shoulder capsule at the end range of the overhead position. If you do a movement where your shoulder comes into a fully flexed position overhead, your chances of shoulder injury are higher if you have not prepared your shoulder to stabilize external load in that position. By teaching the nervous system to control this position prior to an injury occurring, it will greatly reduce your injury risk when doing overhead lifts.
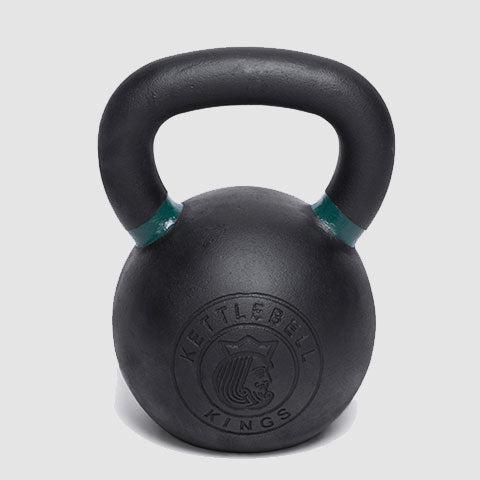
- Choose a light bell. To start, a Kettlebells Kings 4-9kg kettlebell will do just fine here.
- Safely bring the kettlebell up into the bottoms up rack position.
- Slowly press the weight overhead, gripping the handle with all five fingers while stabilizing the kettlebell. Use a 4-6 second tempo on the concentric (lifting) and eccentric (lowering) portions of the lift.
- Finish pressing the bell into the overhead position. This position is complete when the ear is visible beyond the arm. *Note: This is the position, as mentioned above, where the kettlebell will be slightly beyond the midline of the body. If you do not have a lot of control within this range, it is especially important to use a light kettlebell.
- Perform 3-4 sets of 6-8 repetitions with plenty of reps in between sets (2-4 min).

That’s it, friends! Now you can work towards bulletproofing your shoulders to become more resilient in the overhead position. This is a great regimen to implement in between workouts, as a prehab routine, or during a deload week. Have fun and keep those kettlebells swinging strong!
"There is a fitness renaissance occurring and I'm Leonardo Da Vinci." My name is John Schaser, chief commander in fitness at Health Alchemist. I'm a lifelong health nut and fitness writer. My training methods are unconventional and shift the paradigm of what it means to truly be healthy and fit. My core training principles include strength, movement, mobility, and longevity. With this approach, any human can perform at their best while enjoying a long healthy life. Follow me on Instagram @health_alchemist and on my website HealthAlchemistTraining.com.
Kettlebell Kings has the most highly & frequently reviewed kettlebells in the world. We have free shipping in the US & Canada (www.kettlebellkings.com), Europe (www.kettlebellkings.eu) and Australia (www.kettlebellkings.com.au). Check out our 4,000 reviews for quality and customer service here!
